26 March 2014

Getting Muddy....

In the little time I've had to play recently I've managed to make some progress with the character that I started in the previous post.


One of my aims in this collaborative project is to develop an understanding of the sculpting software Mudbox, it's toolset and the workflow between it and Maya. Up until this point I've never really had the desire to sculpting software but packages like Mudbox and Z-Brush are becoming a more and more integral part of the production pipeline and so I figured it was time to get my hands dirty.

I think that my reticence to use sculpting software stems from the heavy handed approach that so many artists have demonstrated through their practice. I have found that there is an abundance of work created through these packages which carries a certain look, a look that screams "sculpted" at the top of it's voice. Deep gouges and symmetrical lines are the most common offences and it is this style that I am hoping to avoid in my efforts.

Anyway, once I got over my fear of carving heavy marks into my model found the transition to sculpting pretty rewarding, the tools in Mudbox are very intuitive and after I had learnt to navigate 3D space with my Wacom it became a rather therapeutic exercise. Developing a workflow took a little time but I soon realised that, much like sculpting in real life, it's best to work down to the building finer detail from larger strokes.


Now that I have a project that benefits from the use of this software I am beginning to understand it's potential and will most certainly be using it again in the future. I still believe that it is important to understand that not everything needs to be sculpted and good old fashioned texture and bump maps are still absolutely valid practice in the professional workflow.

5 March 2014

Can U Dig It?......

I've recently been working with artist Garry Barker to realise one of his characters as a 3D model and it's already been an interesting learning experience for both of us.


For me, this project began when Garry and another of my colleagues, Annabeth Robinson, had been discussing ways that Garry's digging character could be presented through alternative media, this led to talk of motion capture which ultimately requires a 3D model which in turn led to my own involvement.

Although there is plenty of reference through his work and the attributes that make up the character are pretty identifiable, it was difficult for me to consider it as a 3D model so I figured I might as well ask Garry to provide me with some orthographic drawings to work from. I thought  that this wouldn't be particularly hard for him considering it is his work after all and the character shares a very similar blueprint to the rest of the figures that he draws but, it turns out that asking an artist who deals in two dimensions to consider anything that they've created and then drawn countless times as a three dimensional object that can be animated might throw up all sorts of new thought processes for them. He got there in the end and produced some images that I could easily work from in Maya.


The character style is rather doughy, no insult intended Garry, which leads to interesting proportions and an asymmetric look which is very different from the style of character that I might normally build. Still, modelling is modelling and this figure didn't really cause me any problems in it's construction.


I'm pretty pleased with the base mesh, pictured above, the geometry is clean and even without textures and bump maps it has a pretty good level of detail... I could feasibly rig it right now and have a nice model to animate or motion capture but why have a nice model when a flippin' brilliant one could be the order of the day..?

So what's the plan?

I'd say a bit of learning in the form of Mudbox, sculpting software which I am a familiar with but have never tackled anything like this before, and muscle systems, dynamic deformation that has been available in Maya for some years now but something that I have never really had the desire to use. I also intend to develop my understanding of Mental Ray shaders, in particular the SSS (subsurface scattering) shaders that allow rendering of realistic skin.

So, I've got my work cut out for the next while..... I'm not sure how long this is going to take considering the limited free time I have but I'm pretty excited about developing it into a pretty amazing puppet that can be used to bring Garry's art to life.

I'll be posting progress here as and when it happens.

10 February 2014

Rain, Rain Go Away......

Hi, I know... it's been a while hasn't it.... have you missed me?

I was hoping to have something super awesome to present for the start of 2014, something that would reflect a new beginning, the journey into the unknown....... something to inspire my creative practice for the coming twelve months.....


Rain.... that's what you're getting, just rain..... well procedural rain, but rain nonetheless.

I think I've been inspired by the weather over the past few months, I don't know what it's been like in whichever country you're reading this in but here in the UK it's not been too pleasant.... rain, floods, weather warnings, the whole bag!

So what's this all about then, procedural rain.... how does that work and why have I bothered?

Well, it's a technical exercise really... another one that I will develop further and one day hopefully use in my creative practice. I wanted to find a solution to making rain in Maya that didn't look like it belongs in a computer game, not that there's anything wrong with rain in games.... 

"The rain in games falls mainly on the planes" see what I did there... heh heh.

Anyway, like I said I wanted to find a solution to particle based rain that looked cool with splashes and ripples and other rainy stuff and the solution is presented in the video above.

The splash geometry was made using Realflow, imported into the scene as a .bin and then converted to a geometry sequence. When the falling rain particle hits the ground it triggers a collision event that plays the RF geometry sequence through a particle instance, the secondary particle is set to live for the duration of the geometry sequence.

The ripples were created by calculating the collision point of the rain particle on the ground and then applying density to the equivalent point on a 2D fluid container. The resulting texture has been used as a displacement map on the ground geometry, a single face polygon plane.

There's plenty of scope for development in this technique, here's a couple of avenues I intend investigating....

  • transferring colour from the rain particles to the instanced splash
  • transferring colour from the rain particle to the fluid container
  • multiple versions of splash instance
Stay tuned for updates :)


16 November 2013

Rotoscoped Nightmares......

Ok, so no posts for a month and then two come along at the same time...... typical!

As well as attending BAF I have managed to do a bit of practical work this month in the shape of a rotoscope and stop motion animation... check it out!


Since my work is primarily computer based I've neglected my drawing skills over the past few years and decided to learn how to hold a pen again by rotoscoping the "here's Johnny" scene from The Shining.

The animation is approximately one minute long and I figured that, drawing at 12 frames per second, it would be manageable for me to finish the project in a fairly short period and get the hang of using a Wacom tablet again..... sitting down and drawing, how hard could that be?....

Man alive, the effort, both physical and mental, that was required to complete this was astonishing and was something that I never expected.

To begin with things were fine but then after a while the pain in my wrist and fingers began.... the best analogy I can come up with is having done no exercise for years and then running a half marathon, my body had become lazy and the muscles required to hold a pen were useless and ached for a couple of days after the initial drawing session.

The fitness in my hand soon caught up and after a short while drawing for lengthy periods wasn't too much of an issue but the concentration required was draining. Ensuring that straight lines on the frame I was working on matched those on the previous frame became stressful and the monotony of drawing the same thing over and over and over made me begin to hate my decision to start this project.

But, I had to finish it....There was no way that I was going to invest so much effort into something and leave it incomplete.... The fourth shot was the longest and was where my motivation really began to wain. It is a torturous process and one that has made me appreciate the work of traditional animators even more than I had previously.

The drawing did get finished and the stop motion for the note pad was very straight forward in comparison... although crumpling up over 600 pages of paper does actually hurt after a while.

I know it sound's like I hated making this work but I really didn't. I am truly pleased with the results but I simply wasn't prepared for the mental rigour that was required to get me through the project and, a few days after completion, I am already sure that I will undertake some more hand drawn animated projects in the near future.

20 Years of BAF....

It's been a month since my last post.... where did those 31 days go????

So, what have I been doing with my time..... well, apart from working and spending time with my family I spent this week at Bradford Animation Festival which was celebrating it's 20th anniversary.


Highlights of this years festival included a selection of inspiring animations from students and professionals around the world, masterclasses from Warren Spector, Dave McKean and Anna Pavlotova, industry presentations from Travellers Tales and Double Negative and interviews with Lee Hardcastle and McKinnen & Saunders.

It's been an really interesting week where I feel that the overall message has been one of preparation and pre-production. Providing that the initial ground work of a project is done prior to production then there is much less likelihood of it collapsing before completion.... I hope that all students who were present throughout the festival also got that message and will take the advice on board and apply it to their own practice.


17 October 2013

Tangled Times......

Once again it's been a few weeks since I've been writing in my blog but here I am again, yay, writing about stuff I've been working on since my last post.... as much as a reminder to myself of what I've been up to as it might be a document of interest to you, the reader.

So, what have I been doing?.....

Teaching and preparing to teach mainly but I have also been able to spend a bit of time working on a couple of personal projects too.... I imaging that you're wondering "what could these personal projects be?".... well there's one one that I don't want to talk about yet and another that I will happily share, hopefully satisfying your curiosity enough that you will forget about the project that I'm not willing to speak of right now.


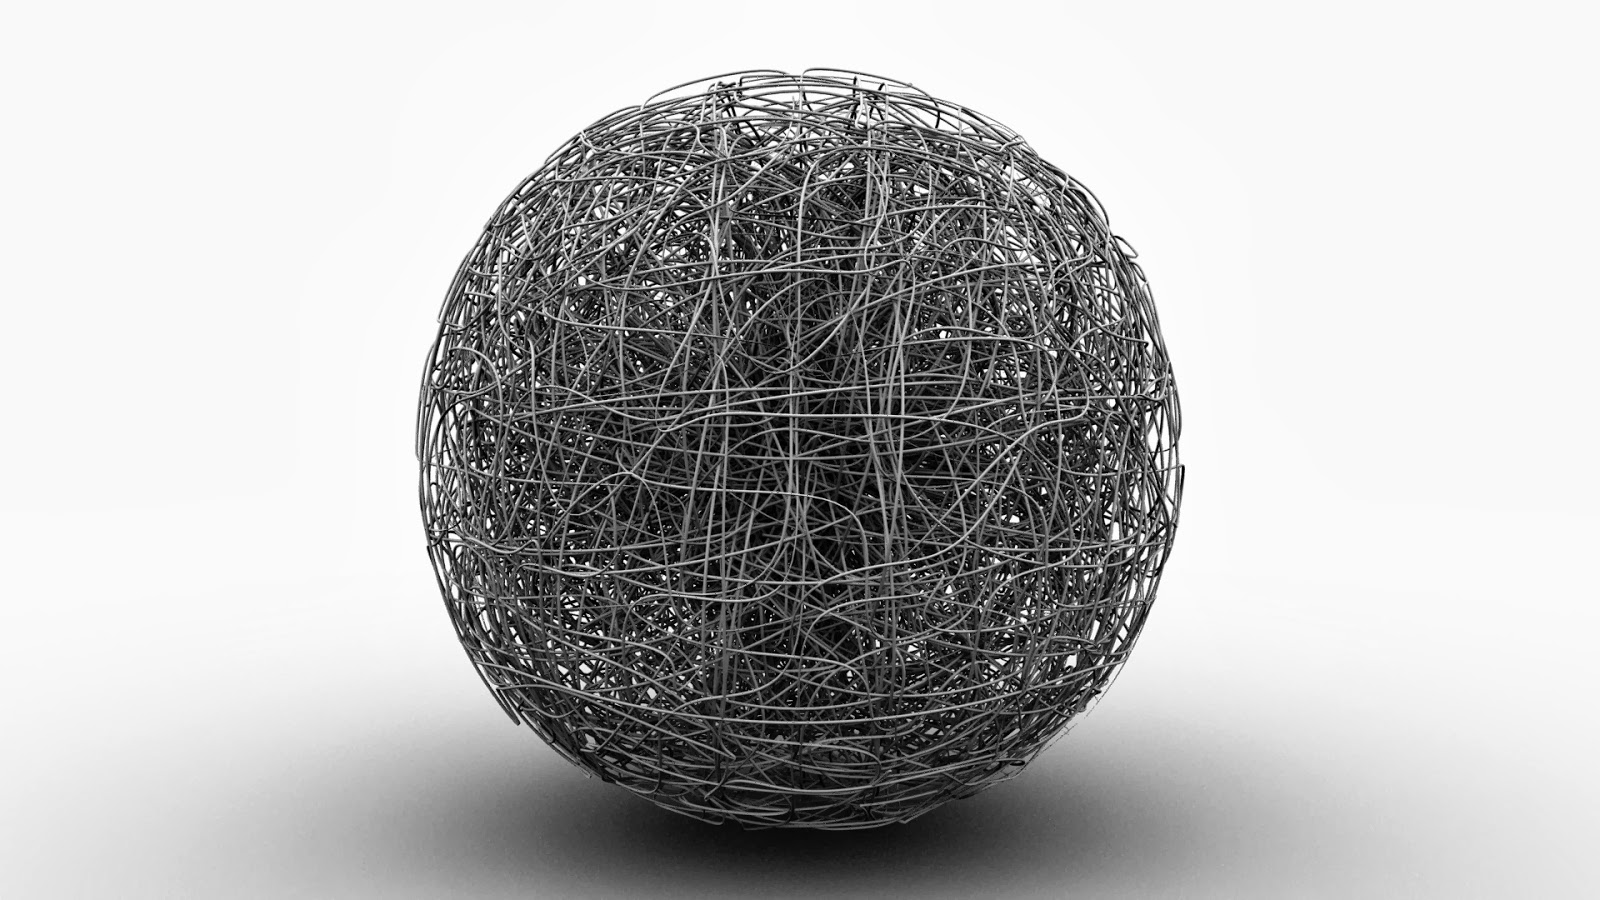
What you're looking at there is a product of the personal project that I'll be rattling on about in this post...... can you guess what it is yet?

You got it... my Lattice Modifier tool for Maya!!

Well, it's called the Super Lattice Modifier now and I think it's finished..... until someone suggests some other functionality that I may be able to apply through it to make it even more super.... perhaps even MEGA!!

I've made a whole bunch of changes to the tool and it's functionality and interface are now very different from the original version. Where previously I had used bevels and extrusions to create the lattice I now apply paint effects to the edges of the control object which allows for real time updating when geometry is added or adjusted making the whole process far more user friendly and efficient.

Watch the video to see how it works and stuff.......


Because I've used the docking function for the interface it makes the tool feel much more integrated within Maya, a part of it rather than a separate object that simply works along side it. I needed to develop my understanding of how to build a user interface with MEL and then ditch the old version and start from scratch with the new one to be able to dock it but it is totally worth it and I believe that the new method is in fact far more efficient than my old way........  formLayout (old way) Vs. frameLayout (new way) = no contest!

One of the big new features of the tool is the ablility to keep the original mesh that the lattice is based on, so if you have a textured object/character or whatever that you'd like a wire frame render of it's as simple as clicking a check box....... that image below was made in a matter of seconds with the script.


A more creative approach to using the tool can be seen below. This image was made using the new functions in the Lattice Control section. I used a Humster3D model of a Mini Cooper that came free on the front of one of my magazines and ran the Super Lattice Modifier twice over each of the main pieces of geometry. 


Obviously, running the script twice on any geometry will create a pretty heavy scene (a little over 4 million polygons in this case) but it's worth it and as I was saving the scene iteratively after each body part there was little possibility that the scene was going to die on me.

Needless to say, I'm pretty proud of the script I've written and although it utilises many functions that are already available within Maya it makes the workflow so much more efficient and puts all of the utilities under one user interface.

Download it and have a play.... you know you want to.......

DONLOAD HERE


16 September 2013

Miniature Big Bang......

Having avoided fluid dynamics for the last 11 years, I finally decided to find out how to use them to create explosive events, so I set myself a mini brief that would allow me to develop my skill set by applying a few new techniques in conjunction with some of my previous research.

The brief was pretty simple..... Blow Shit Up Using CGI.

But what to blow up..... well, I figured I'd start small and use a little cat ornament that my daughter made.


Now, it would be straight forward enough to model the cat using polygons in Maya but I figured this would be an ideal opportunity to try out something new in the shape of 123D Catch, a nifty free piece of software from Autodesk that will convert a series of photos into a 3D model.

123D Catch is pretty straight forward to use - Take a bunch of photos, upload them, wait a short while and then download your 3D object in whichever format you want. Providing you follow the instructions it's difficult to go wrong but first attempts can be forgiven..... check out porridge cat below


So, I tried again, got a mesh that I could work with and cleaned it up..... the initial output from 123D Catch will always have some imperfections, holes etc, and will also include the floor which needs to be removed. Below you can see the results of my capture as well as the horrible dense mesh that 123D Catch produces. 


While it's great that you can easily capture objects for rendering, they are pretty much useless for anything else - especially if you're thinking of running demolition simulations with them - due to the the density and topology of the mesh. So, bearing this in mind I figured that I could make a low poly proxy of the ornament, with a clean mesh that would play nicely with DMM, and use the high poly object to create a normal map to apply to the low poly version. This can be done very easily in Maya using the Transfer Maps function. Below are the fruits of my efforts....


While the low poly object is no where near as refined as the high poly version, it is clear that there are a whole bunch less faces and it's going to get blown up anyway and only one or two frames are going to be seen with this intact. If I had spent a bit more time making the proxy object I could have easily got a much better likeness.... same could be said for the 123D Catch exercise too.

With the mesh sorted I could now get on and destroy it using the DMM plugin for Maya. This is something I've used a lot in the past and I'm sure that I rambled on about it then, so won't go into exactly how I set up the scene in this post.... suffice to say it got exploded nicely! One thing I will mention though is that I wanted this small object to blow up like a massive object and as DMM works to real world scale I had to scale the cat up quite a bit.

So onto the fluids..... what can I say.... they're as straight forward as they can be considering what is possible with them but they're still not that straight forward.

Maya fluids have an enormous array of settings that can be adjusted to create reactions and interactions between emitted fluids. The fluids can only be present within "containers" that are placed within a scene but any number of containers and emitters can be created.

Without some reference I wouldn't have a hope of understanding the processes involved in using fluids but there's an awesome guide on Digital Tutors that helps a lot with understanding process alongside reading the manual!

One thing that is important to note is the time that fluid simulations can take and the size of the cached simulations. I have 4 cached simulations in my scene (explosion, fire chunks, cat shards, flames on cat shards) and the project folder is 61.4 gigabytes..... good job I've got a bunch of 3 1/2 inch hard drives and a hot swap dock is all I'm saying!

Once I had worked through the DT guide I used what I learnt to create the explosion for my cat ornament, there's two fluid simulations here, one for the explosion and one for the flaming chunks. I also applied fire to the pieces of cat for a bit more oomph... I think that's the technical term. Here's the rendered sequence......


I only ran one render pass here rather than breaking it down into it's various components which would allow for greater control in post production. Now that I understand the processes involved in creating a nice explosion I can and will do the passes in future. I also added a bit of camera shake in After Effects and some audio that I put together using downloaded clips from freesound.org in order to further "sell" the effect.

I'll be making another explosion next but will be compositing it onto some hand held footage... another process to add to this complex shot!